Today we continue our deep-dive series "How It's Made," designed for those of you who want to learn how to identify and fix minor issues with your kitchen hood on your own.

As always, let me start with a brief note: all the articles you find here are personally written by me—Tiziano, the Filtro Cappa technician.

In this guide, I’ll walk you through everything you need to know about your hood’s impeller (also called the fan):

Keep reading to learn everything about the fan inside your kitchen hood!

What is an impeller and how does it work?

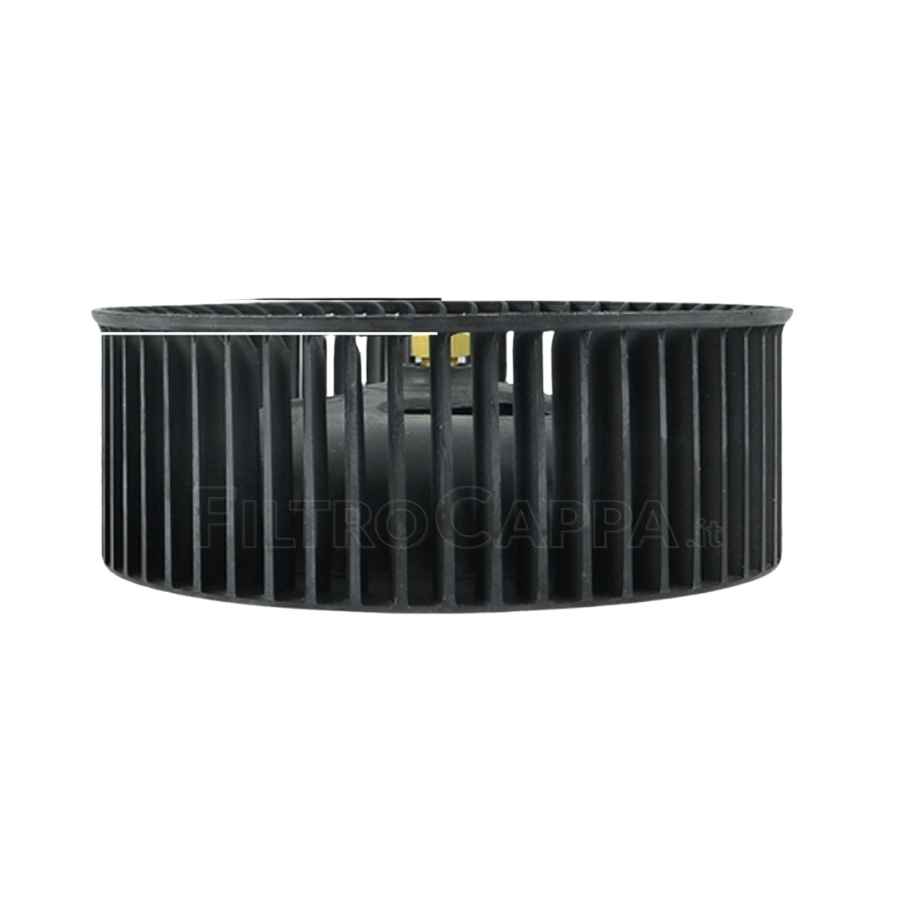
The impeller, also known as the fan or rotor, is a plastic cylinder equipped with many small blades (or vanes) all around its circumference.

Thanks to this specific shape, when the motor is running, each blade "grabs" the air and, due to centrifugal force, pushes it toward the outer edge of the cylinder. From there, the air exits through side vents and continues its path into the duct or toward the carbon filters.

In short, the impeller is the component that converts the motor’s mechanical energy into an airflow.

Firmly connected to the motor via its shaft, the impeller spins at the same speed as the motor and generates a pressure difference that pushes the air in one direction—into the hood and then outward through the ducts (or toward the carbon filters, if you have a recirculating hood).
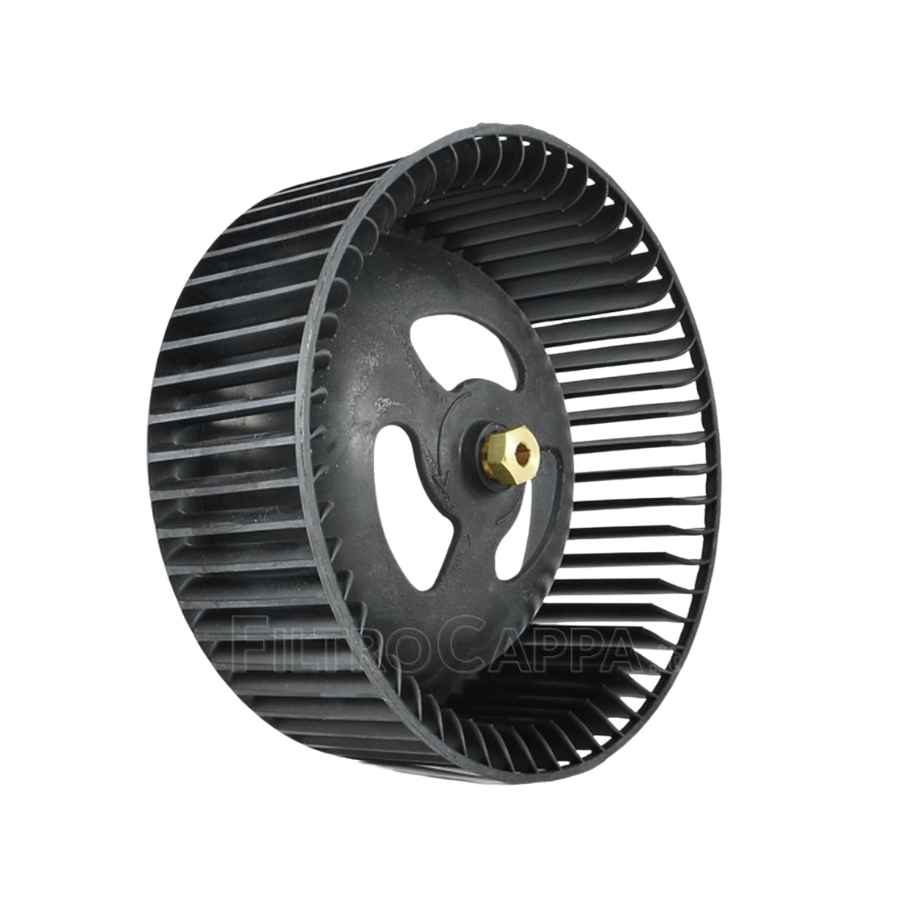
Front view of a hood motor impeller
Side view of a hood motor impeller

→ The impellers can have different diameters and sizes, depending on the brand, model, and power of the hood.

Need a new fan for your cooker hood? Find all original or compatible spare parts on FiltroCappa.it

Impeller Materials

The fan (impeller) of a domestic cooker hood is almost always made of reinforced plastic: a material that keeps the structure lightweight and prevents rust formation.

Since the impeller is constantly exposed to hot cooking fumes, humidity, and condensation, a component made of ferrous metal would quickly oxidize and compromise the performance of the entire appliance.

Impeller Diagnosis: The Most Common Issues

After the motor, the impeller is another key component—without it, the cooker hood wouldn’t be able to extract air properly.

Here are the most frequent issues related to the impeller:

Safety Note:

If you experience any of these issues with your cooker hood, make sure to perform all checks with the hood turned off and unplugged.

If the issue persists even after cleaning or replacing the impeller, the motor or control board may be the cause. Iff that’s the case, feel free to contact me or reach out to a service center.

1) Dull Noise or Vibration

If you hear a dull noise or unusual vibration when the hood speeds up, the cause may be an unbalanced impeller or one that is no longer firmly secured in its seat.

If the fan wobbles laterally or if the blades appear bent, I recommend purchasing a new impeller and replacing the old one.

2) Metallic Squealing

If you hear an annoying metallic squeal or continuous scraping, the impeller might be rubbing against another nearby component. This could be due to wear or improper installation.

→ Try manually rotating the impeller: do you feel resistance or hear scraping? If so, try loosening the screw or repositioning the impeller. If the blades are damaged or you can’t restore the fan’s normal operation, you’ll need a replacement.

3) Weak Airflow Despite the Motor Running

Is the motor running but airflow seems too weak? If you’ve already cleaned the grease filters or replaced the charcoal filters and the problem persists, the issue may come from the fan.

Even the fan can get clogged with grease, which reduces airflow.

→ Check for grease, buildup, or sticky residues on the impeller’s surface. If you find any, clean the fan by soaking it in warm water with dish soap. Don’t overheat the water or the plastic may deform. After cleaning, dry it thoroughly and reinstall it in the hood.

4) Fan Won’t Start or Gets Stuck

If the fan won’t start or stops shortly after powering on, there might be a foreign object - like a chip, screw, or hardened grease - blocking its rotation.

→ Try turning the impeller manually. If it feels stuck or resists movement, check for anything obstructing the fan.

If the motor shaft is bent, a deeper inspection by a qualified technician is likely required.

5) Intermittent or Rhythmic “Toc-Toc” Noise

If you hear a knocking noise, it may be caused by a loose impeller shifting back and forth when the hood is on.

→ Try moving the fan back and forth. If there’s play, the shaft screw may be loose/tighten it. If the impeller’s central hole is worn or oval-shaped, you’ll need a new one.

6) Smell of Heated Plastic

If you notice a burning plastic smell coming from the hood, it may be due to the impeller overheating and deforming. This can happen when the grease filters are clogged, forcing the motor to work harder.

→ Once the hood has fully cooled down, check the blades and ensure they’re intact. If you see warping, shiny spots, or irregular shapes, it’s likely due to overheating. Replace the impeller and remember to clean your grease filters every 2–3 months to avoid future issues.

7) Plastic Shards in the Filters

Have you removed your grease filters and found small pieces of plastic? This could mean that the impeller has broken due to impact or wear.

→ Inspect the impeller blades carefully. If any pieces are missing, replace the impeller and make sure it’s installed securely to prevent future damage.

Maintenance, Cleaning, and Replacement

Regular cleaning of the hood’s grease filters helps keep the internal components in good condition and reduces the need for repair.

If you clean the grease filters every 2–3 months as recommended, you can inspect the interior of the hood twice a year.

This allows you to catch early signs of dirt or grease buildup on internal parts and clean them to maintain the hood’s performance over time.

For typical use, cleaning the impeller once a year is often enough, but this can vary depending on the types of food you cook and how often you use your hood. If you cook greasy food frequently, you may need to clean it more often.

Here’s how to do it:

  1. Unplug the hood.

  2. Remove the grease filters and access the impeller.

  3. Unscrew the impeller from the shaft.

  4. Soak it in a basin with warm water (around 60°C) and degreasing detergent for 20–30 minutes.

  5. Remove any grease manually.

  6. Rinse, dry thoroughly, and reinstall it—making sure the connection is tight.

Each time you clean it, also check for blade damage (deformation, cracks, wear) and ensure it is firmly secured to the shaft with no play.

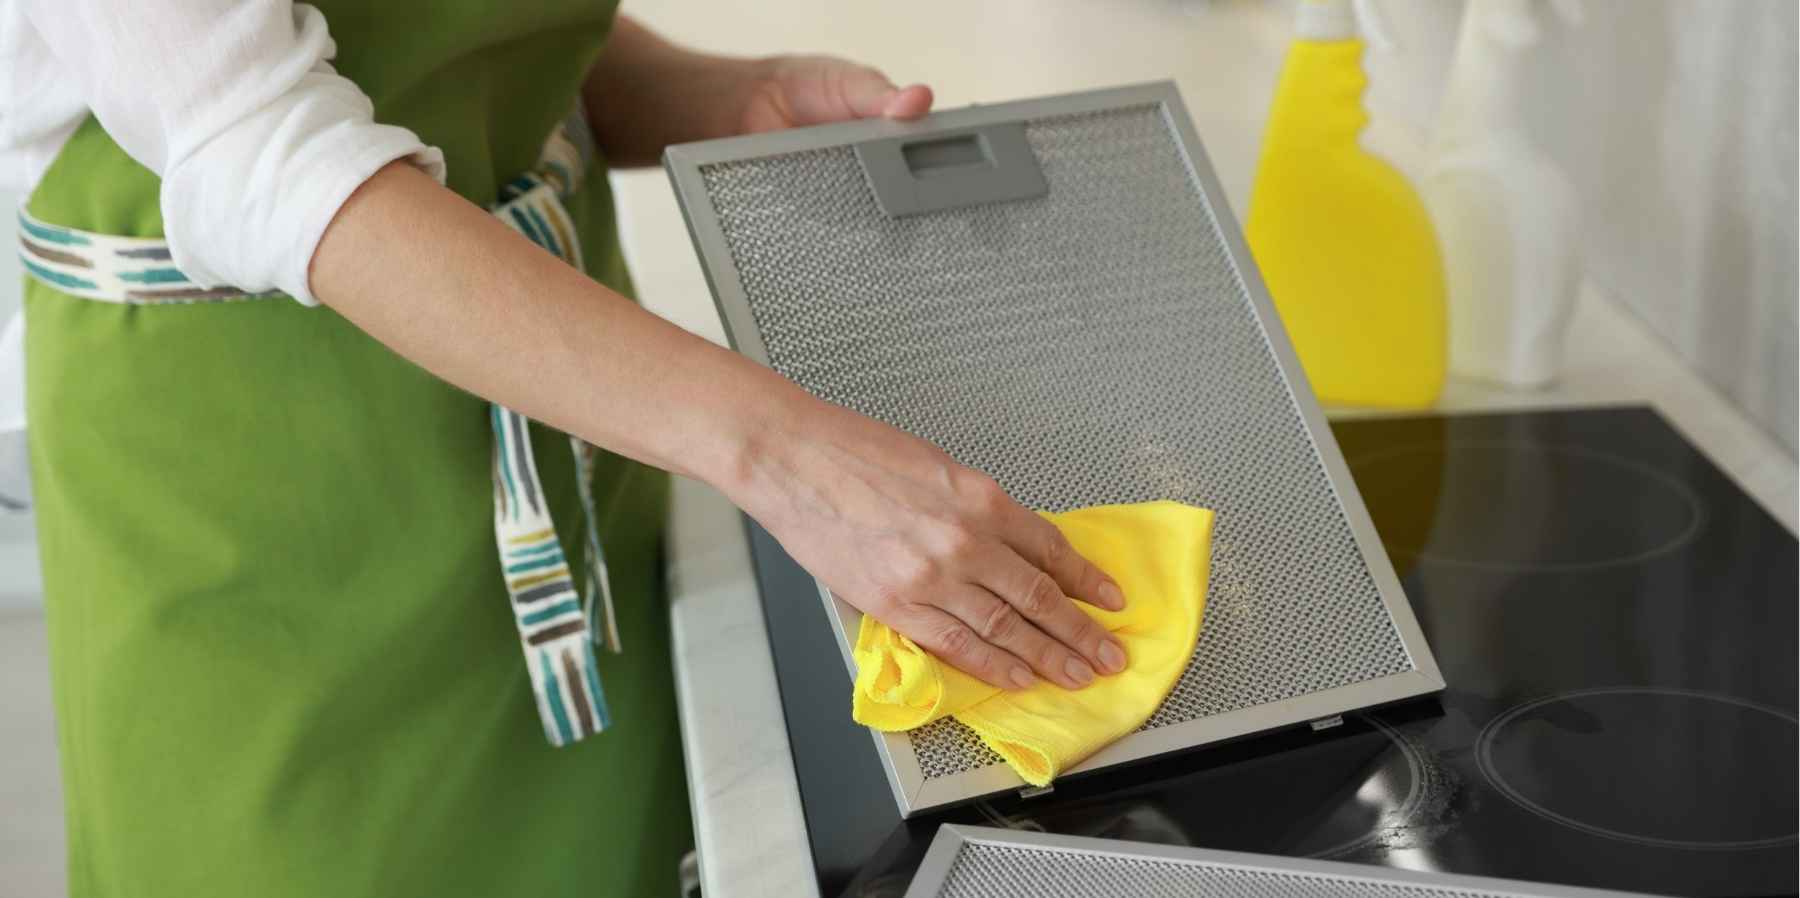
Manual cleaning of metallic filters for kitchen hoods

Regular and thorough cleaning of the grease filter can prevent unpleasant malfunctions of the extractor hood

If you notice blades that are cracked, chipped, broken, or if the hole where the shaft is inserted is ovalized or the screw no longer holds, it’s time to replace the impeller with a new spare part.

What NOT to do to the impeller

Even though the urge to fix your hood quickly may be strong, make sure to follow these tips to avoid causing further damage:

  • Never perform maintenance with the hood plugged in or running: Turn off the hood, let it cool down, and unplug it. Only then is it safe to work on it.

  • Don’t install the impeller upside-down: It might seem obvious, but an impeller installed in reverse won’t be able to extract air, vapors, or smoke.

  • Do not lubricate the impeller or the shaft it connects to: Mixing lubricant with cooking grease can unbalance the impeller and reduce the hood’s efficiency.

  • Don’t try to bend deformed blades back into shape: Bent blades are a sign that the impeller has reached the end of its life. Forcing them back can compromise the dynamic balance of the fan.

  • Don’t install impellers with a different diameter: “Almost the same” won’t cut it here! The impeller must be the correct size, or else the hood and its components may wear out prematurely or become overloaded.