Your cart
There are no more items in your cart


Ho acquistato il filtro carbone della Faber ,originale, perfetto per la mia cucina. Nella confezione ce ne sono due, con un prezzo onesto. Nel sito hanno una grande varietà di prodotti per ogni esigenza. La spedizione è veloce e curata.
Ottimo servizio, ho ordinato i ricambi per una cappa FALMEC Plane 90, i ricambi arrivati sono ottimi ed originali , il servizio di spedizione è eccellente e velocissimo, il personale disponibile e molto cortese.
Esperienza eccellente. Bisogna inviare la foto dell’etichetta del prodotto e così i pezzi di ricambio esatti vengono verificati dal venditore. Risposta attenta e rapida. Risparmio garantito rispetto ai rivenditori fisici di zona: circa 30€ a pezzo nel mio caso. Consigliatissimo!
Consiglio vivamente, ho trovato sul sito il pezzo che mi serviva originale e a un prezzo minore rispetto ad altri siti, l'ordine è arrivato velocemente e ben impacchettato. Esperienza molto positiva
Ottimo servizio. P.S. Sono io che vi devo ringraziare, perché è molto raro trovare tanta serietà, professionalità e disponibilità, non ultimo il preoccuparsi anche dopo la consegna del parere del cliente. COMPLIMENTI.
Ciò che serviva a me non ce l'avevano in magazzino ma me lo hanno procurato comunque. È stato semplice e veloce. Inoltre non mi sono dovuto scervellare x capire quali delle mille mila versioni differenti serviva a me. Gli ho mandato una foto e hanno fatto tutto loro! Super professionali loro e super contento io!
Filtro Cappa mi ha assicurato che i filtri proposti andavano bene per la mia cappa ed infatti li ho acquistati e sono felicissimo; ottima assistenza e ottimo rapporto qualità/prezzo.
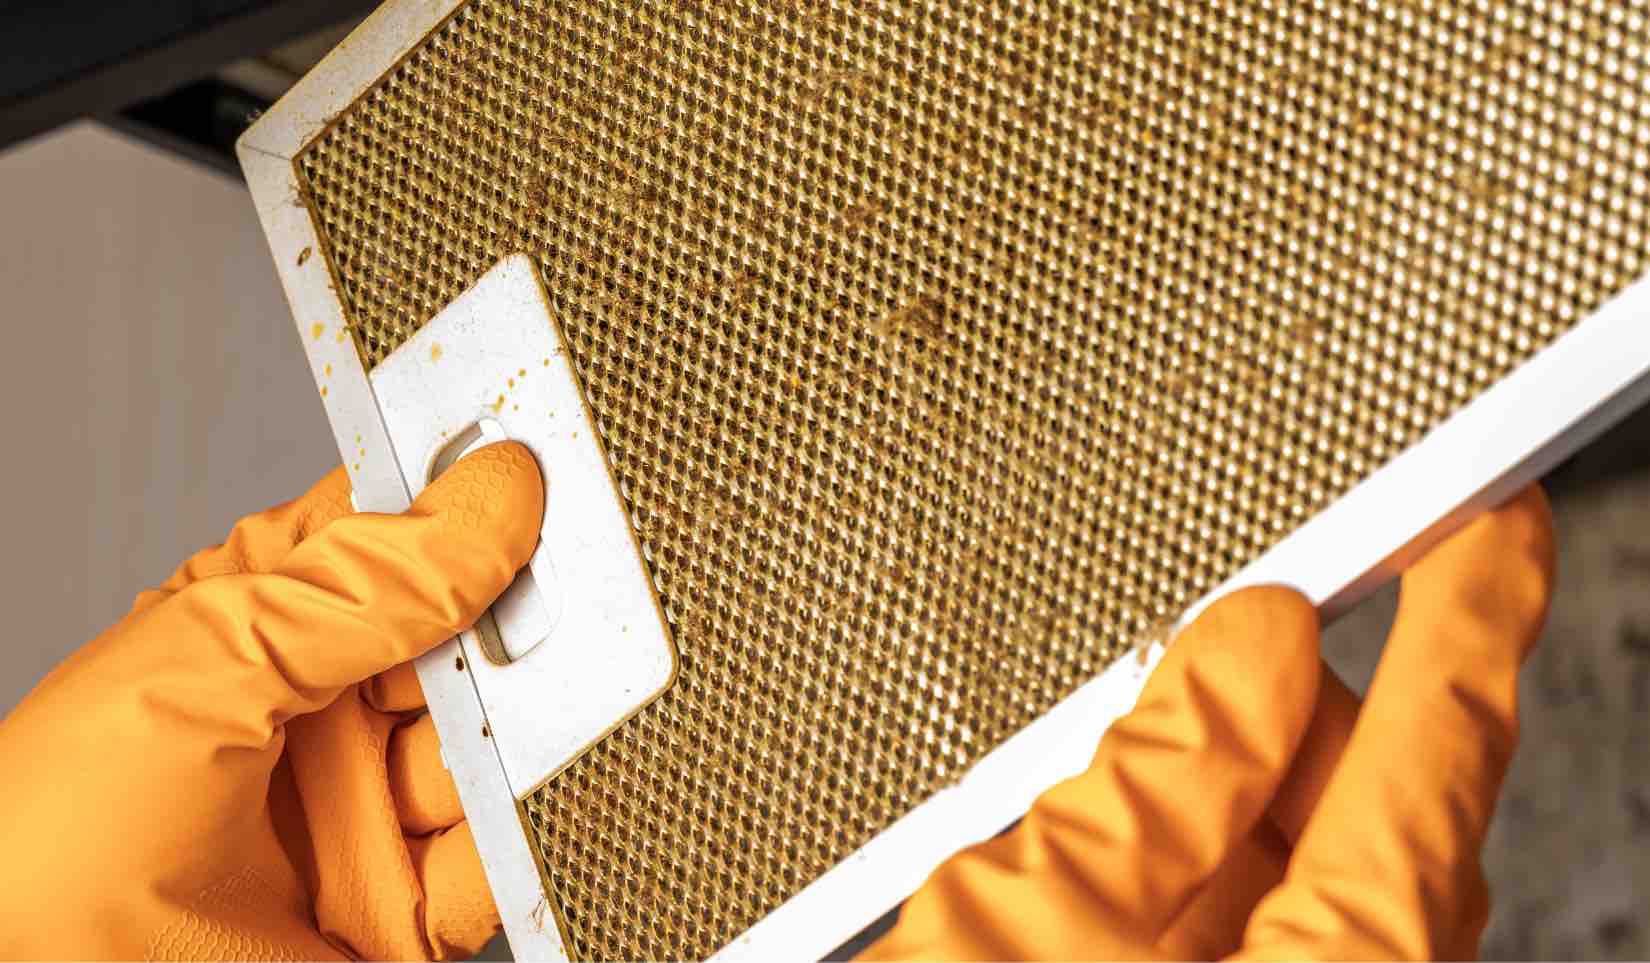
Prima esperienza di acquisto del filtro cappa metallico, ottima in facilità di ordine e tempi di consegna, non pensavo di trovare ancora il ricambio in quanto la cappa Faber ha 23 anni, sono estremamente soddisfatto, non escludo di acquistarne un altro da tenere di scorta quando torna disponibile sul sito
Ho trovato il filtro della mia vecchia cappa seguendo i consigli via chat che mi sono stati dati in quanto il vecchio modello non è più in produzione. La spedizione è stata velocissima e il filtro è perfetto. Grazie
Sostituzione motore ventola di aspirazione tutto ok. Il motore è arrivato imballato perfettamente confezionato onde evitare di essere sballottato e danneggiato. Montato sulla cappa airone angolare tutto ok. Rivenditore preciso e puntuale molto affidabile.